 Save
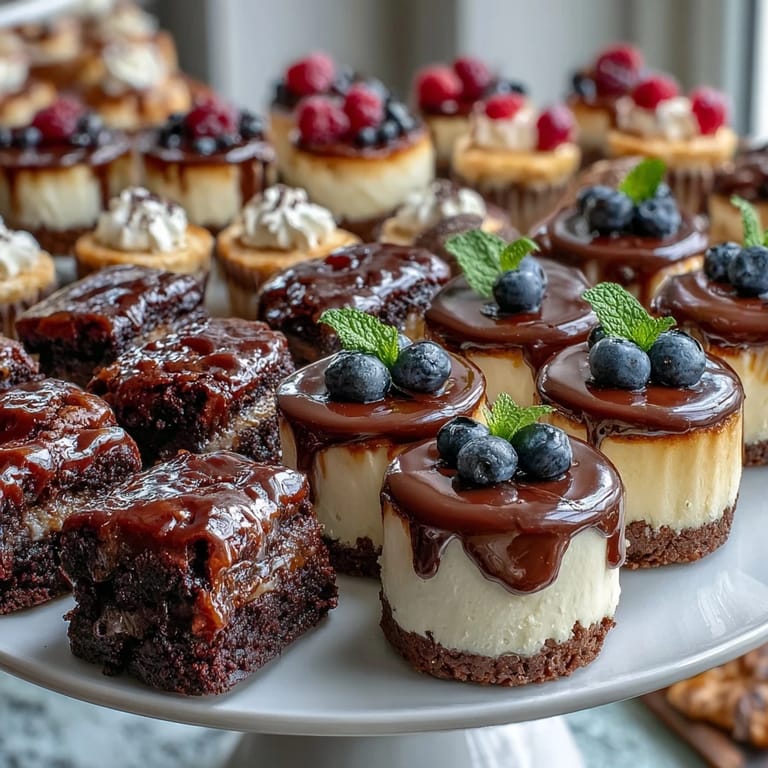
Save My friend Sarah texted me three days before her housewarming with a panic: 'Help, I need dessert but I'm exhausted from unpacking.' That's when I realized a dessert bar wasn't just the perfect solution—it was actually more fun than a single cake ever could be. Three different mini treats, all baked ahead, all designed to impress without requiring last-minute stress. Walking into her kitchen that evening, setting up a tiered stand with brownies, cheesecake cups, and berry tartlets felt like we were creating an edible gallery opening.
What surprised me most was watching people navigate that dessert bar—they lingered, tasted, compared notes, laughed about their choices. One guest came back three times, declaring the lemon cheesecake 'dangerous,' while another stacked a brownie, tartlet, and cheesecake bite on a single plate like they were building an edible skyscraper. That's when I understood: a dessert bar isn't just about the food, it's about giving people permission to be playful.
Ingredients
- Mini Muffin Tins: Use paper liners for the brownies and cheesecake to make cleanup effortless and transport simple—I learned this the hard way after one stuck brownie taught me a lesson.
- Dark Chocolate (100 g, chopped): Quality matters here because there's nowhere to hide; I use 70% cacao because it's bitter enough to balance the sweetness without being harsh.
- Cream Cheese (150 g, softened): Room temperature is non-negotiable or you'll have lumps; pull it from the fridge 30 minutes before and your filling becomes silky.
- Lemon Juice and Zest (1 tbsp juice, 1 tsp zest): Fresh lemons give brightness that bottled juice can't match, and the zest adds little bursts of flavor that make people pause mid-bite.
- Ready-Rolled Shortcrust Pastry: This is my secret weapon for saving time without sacrificing taste; keep it cold until the last moment or it'll tear.
- Assorted Fresh Berries (80 g): Whatever is in season looks beautiful and tastes better; strawberries, blueberries, and raspberries work together, but you could swap in blackberries or even thin-sliced kiwi.
- All-Purpose Flour (60 g): Sifting isn't necessary but folding gently is—overmixing the brownie batter turns fudgy into dense, and nobody wants that.
- Digestive Biscuits or Graham Crackers: These form the base, and crushing them fine instead of leaving chunks creates a crust that holds together; I pulse mine in a food processor in under a minute.
Tired of Takeout? 🥡
Get 10 meals you can make faster than delivery arrives. Seriously.
One email. No spam. Unsubscribe anytime.
Instructions
- Set Your Oven Stage:
- Preheat to 180°C (350°F) and line or grease your mini muffin tins—doing this first saves the scramble later when your hands are covered in batter and chocolate. Have all three work stations ready so you can move between them smoothly.
- Build the Brownie Base:
- Melt butter and chopped dark chocolate together, either over simmering water or in 30-second microwave pulses, stirring between each. The water bath is gentler if you're nervous, but honestly, either works as long as you keep stirring until it's glossy and smooth.
- Fold in the Brownie Soul:
- Whisk in sugar, eggs, and vanilla, then gently fold in flour and salt just until combined—the batter should be thick but pourable. Spoon into 8 mini muffin cups and bake for 12–15 minutes; they'll look slightly underbaked in the center, which is exactly right.
- Prepare the Cheesecake Crust:
- Mix crushed biscuits with melted butter and press firmly into the bottom of 8 mini muffin cups, using the back of a measuring spoon to create an even base. This takes two minutes and completely anchors the filling above.
- Whip the Cheesecake Filling:
- Beat softened cream cheese and sugar until smooth and creamy, then add the egg, lemon juice, zest, and vanilla, mixing just until combined. Overmixing can make it grainy, so stop as soon as you see no streaks of unmixed cheese.
- Bake the Cheesecake Cups:
- Spoon filling over crusts and bake for 12–15 minutes until the centers are just barely set—they should have a tiny jiggle when you gently shake the tin. Cool in the tin, then refrigerate so the filling firms up and the flavors meld.
- Cut and Shape the Tartlet Shells:
- Cut your shortcrust pastry into 8 circles (a cookie cutter or the rim of a glass works), press into mini tartlet tins, and prick the bases with a fork to prevent puffing. Bake for 10–12 minutes until golden brown, then let cool completely in the tin.
- Create the Custard Filling:
- Whisk milk, egg yolk, sugar, cornstarch, and vanilla in a saucepan, then place over medium heat and stir constantly as it thickens—you'll see it transition from thin to sauce-like in about 3–4 minutes. Pour into a bowl and let it cool slightly so it doesn't wilt the pastry shells.
- Fill and Top the Tartlets:
- Spoon the custard into cooled tartlet shells and arrange fresh berries on top—I usually do a mix of colors so each tartlet looks like a tiny edible painting. You can do this just before serving or a few hours ahead; the tartlets stay beautiful either way.
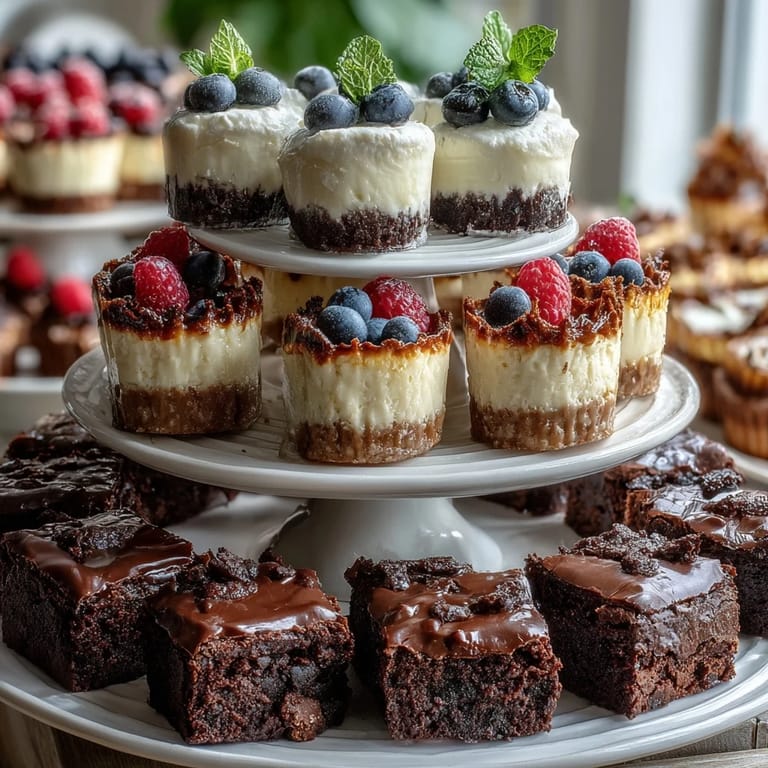
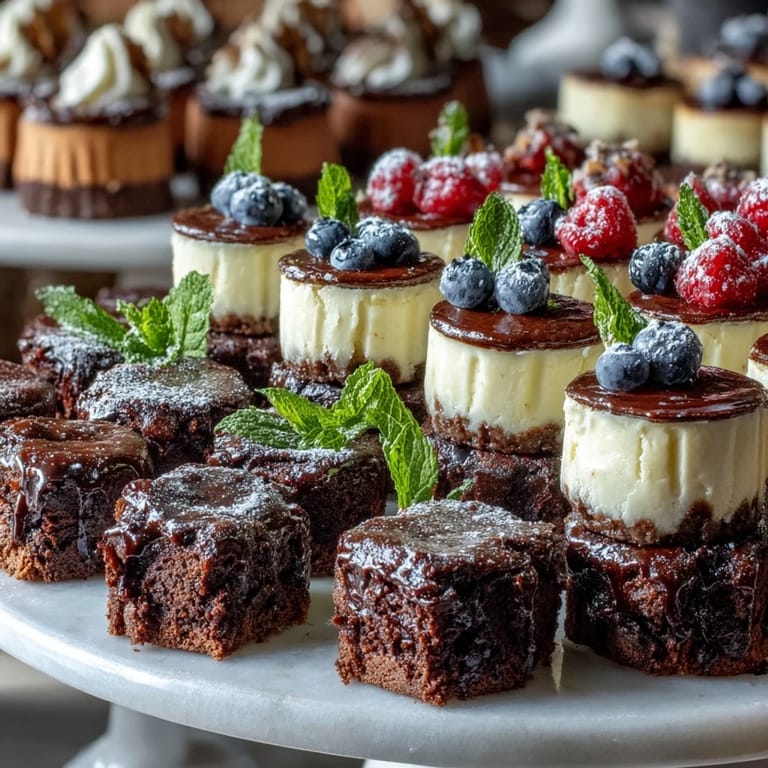
- Compose Your Dessert Bar:
- Arrange all treats on a tiered stand or platter, grouping by type so guests can navigate easily—three brownies here, three cheesecake cups there, three tartlets elsewhere. Garnish with fresh mint leaves if you have them, and step back to admire what you've created.
 Save
Save An hour before guests arrived, Sarah and I arranged everything on her grandmother's china cake stand, and she teared up—not from stress, but from seeing something she'd created herself that felt absolutely worthy of celebrating. That's the real magic of a dessert bar: it's not just dessert, it's proof that you can feed people something beautiful and meaningful without burning yourself out.
Make-Ahead Magic
The entire dessert bar can be assembled 24 hours ahead, which transforms the day of entertaining from chaotic to calm. Brownies stay fudgy in an airtight container, cheesecake cups benefit from a night in the fridge to set properly, and tartlet shells hold their crispness when stored in a sealed box. Only add the berries on top of tartlets within a few hours of serving so they stay bright and fresh, but everything else just gets better as it sits.
Flavor Combinations That Work
Once you understand the structure, you can swap components without guilt—chocolate mousse instead of brownie batter, passion fruit curd instead of lemon cheesecake, candied citrus instead of fresh berries. I've made versions with lavender-infused cheesecake, dark chocolate tartlets with raspberry filling, and white chocolate brownies that made people rethink their entire worldview. The beauty is that you can theme it around seasons, preferences, or whatever's in your pantry that day.
Serving and Pairing
A dessert bar deserves to be treated as a moment, not an afterthought—clear a beautiful table, dim the lights slightly, and let it be the main event instead of rushing through it between dinner courses. Sparkling wine pairs gorgeously with the tartlets, sweet white wine balances the intensity of the brownies, and frankly, good espresso makes the whole experience feel French and intentional.
- Put out small plates and tiny forks so people can graze without feeling like they're at a theme park.
- Label each variety with a small handwritten card so guests know what they're tasting and can make informed decisions.
- Have coffee and tea ready nearby because dessert bars naturally invite lingering conversations that deserve warm drinks.
 Save
Save There's something profoundly generous about putting three different desserts on one table and saying 'try whatever calls to you.' It turns entertaining into an act of hospitality that feels effortless, even when you've been thoughtful enough to make three different treats from scratch.
Cooking Guide
- → How do I keep the mini brownie bites fudgy?
Ensure you bake them just until set, around 12–15 minutes, to retain a moist and fudgy center.
- → Can I use different types of cookies for the cheesecake cups crust?
Yes, digestive biscuits or graham crackers work well, and you can experiment with different crunchy cookies for flavor variations.
- → What’s the best way to prevent the tartlet crust from becoming soggy?
Bake the shortcrust pastry until golden before filling, and chill the custard-filled tartlets to help maintain crispness.
- → Can seasonal fruits be substituted in the tartlets?
Absolutely, fresh berries can be replaced with fruits like kiwi, peach, or mango depending on availability.
- → How should these mini treats be served for best presentation?
Arrange them on a tiered stand or decorative platter, optionally garnished with fresh mint leaves or a drizzle of melted chocolate.