 Save
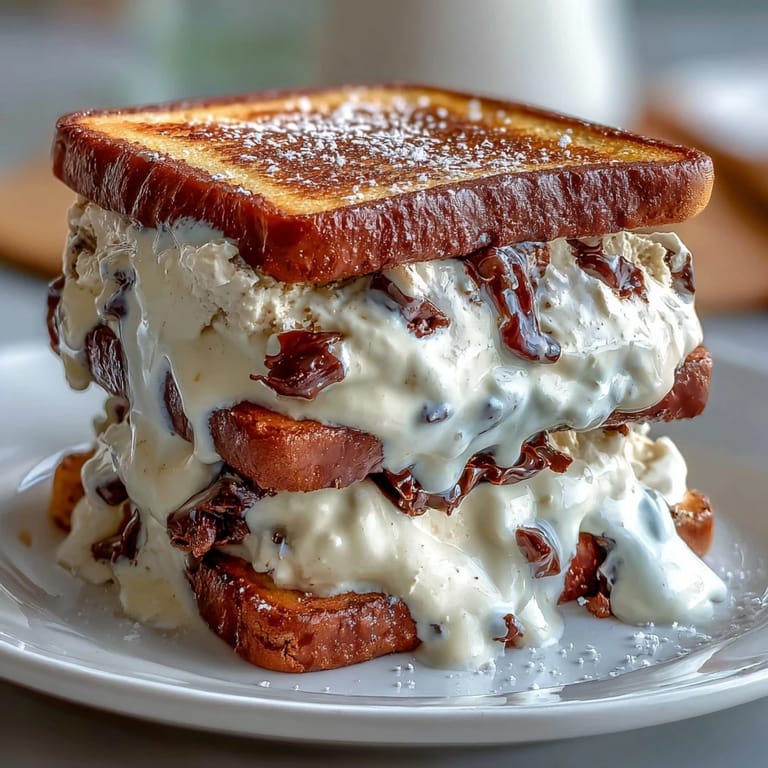
Save Last summer, I was obsessed with vanilla frappuccinos from a certain coffee chain, ordering them so often my barista knew my name before I even approached the counter. One particularly hot afternoon, I thought: why not trap that exact flavor between two homemade cookies? The result was these vanilla bean ice cream sandwiches, and they've since become my answer to anyone who asks what I'm bringing to a gathering. They're elegant enough for dinner parties, casual enough for a weeknight treat, and honestly, they taste like a guilty pleasure you're allowed to enjoy.
I made these for my friend's birthday dinner in July, and watching her face light up when she bit into one was worth every minute of prep work. She kept asking what bakery they came from, and when I told her I made them, she demanded the recipe immediately. That's when I knew this wasn't just a fun experiment—it was a keeper.
Ingredients
- Unsalted butter (1 cup, softened): This is your flavor foundation for the cookies; salted butter will throw off the balance and make the espresso flavor muddy.
- Brown sugar (1 cup packed) and granulated sugar (1/2 cup): The combination gives the cookies depth and a slightly chewy center—don't skip the brown sugar or they'll be too cakey.
- Large eggs (2): Room temperature eggs incorporate better and create a more tender crumb; cold eggs will make your dough lumpy.
- Vanilla extract (2 tsp): Pure vanilla is worth the splurge here; imitation will taste flat against the espresso notes.
- All-purpose flour (2 1/2 cups): Measure by spooning and leveling, not scooping; packed flour makes dense cookies.
- Unsweetened cocoa powder (1/2 cup): This adds earthiness and color without overpowering the espresso.
- Instant espresso powder (2 tbsp): This is non-negotiable; it's what makes these cookies taste like they came from a coffee shop, so buy the real thing.
- Baking soda (1 tsp) and salt (1/2 tsp): Baking soda reacts with brown sugar and helps the cookies spread just enough; don't omit the salt or everything will taste flat.
- Heavy cream (2 cups): Full-fat cream makes the ice cream silky; don't attempt this with light cream.
- Whole milk (1 cup): This balances richness and prevents ice crystals from forming.
- Granulated sugar (3/4 cup) for ice cream: More sugar means a creamier texture, but too much prevents freezing; this ratio is carefully calibrated.
- Vanilla bean (1, split and scraped, or 2 tsp vanilla bean paste): Real vanilla beans create speckled ice cream that looks and tastes luxurious; the paste works beautifully if beans are out of budget.
- Pinch of salt: A tiny bit of salt amplifies the vanilla flavor without being detectable.
Tired of Takeout? 🥡
Get 10 meals you can make faster than delivery arrives. Seriously.
One email. No spam. Unsubscribe anytime.
Instructions
- Make the vanilla bean base:
- Combine milk, sugar, vanilla bean seeds and pod (or paste), and salt in a medium saucepan and heat over medium until the sugar dissolves and steam rises—don't let it boil or you'll cook off the delicate vanilla flavor. Once you've reached that steaming point, remove from heat, fish out the vanilla pod if you used a whole bean, then stir in the heavy cream.
- Chill thoroughly:
- This step feels boring but it's crucial: refrigerate the mixture for at least two hours until it's genuinely cold, otherwise your ice cream will be grainy and icy. I usually make this the night before so I can churn it the next morning without waiting.
- Churn to soft-serve consistency:
- Pour the cold base into your ice cream maker and follow its instructions, which typically takes 20–30 minutes depending on your machine. When it looks like soft-serve ice cream, transfer it to a parchment-lined 9x13-inch baking pan, spread it about 1 inch thick, and freeze until firm, at least two hours (or overnight is even better).
- Cream the cookie dough:
- Beat softened butter with both sugars in a large bowl until it looks light, fluffy, and pale—this takes about three minutes with an electric mixer and is the foundation of tender cookies. Add eggs one at a time, beating well between additions, then mix in vanilla extract.
- Combine dry ingredients:
- In a separate bowl, whisk together flour, cocoa powder, espresso powder, baking soda, and salt; whisking prevents lumps and distributes the espresso flavor evenly. If your espresso powder is clumpy, press it through a fine-mesh sieve first.
- Bring it together:
- Gradually add the dry mixture to the wet mixture, stirring with a wooden spoon or using the mixer on low speed until the dough just comes together. Overmixing develops gluten and makes tough cookies, so stop as soon as you don't see streaks of flour.
- Roll and cut:
- Divide the dough in half and roll each half between two sheets of parchment paper to about 1/4 inch thickness—the parchment prevents sticking and means zero cleanup. Using a 3-inch round cutter, cut out 16 cookies and place them on parchment-lined baking sheets, leaving a bit of space between them.
- Bake until just set:
- Bake at 350°F for 10–12 minutes until the edges look dry and set but the centers still have a tiny bit of give—they'll continue cooking slightly as they cool on the pan. Err on the side of underbaking; no one wants a hard, brittle cookie.
- Cool completely:
- This is important: leave the cookies on the baking sheet for five minutes to set, then transfer to a wire rack and let them cool all the way down before assembly. Warm cookies will melt the ice cream immediately.
- Cut ice cream to match:
- Remove the frozen ice cream slab from the pan and use the same 3-inch cutter to cut out eight rounds—a hot knife dipped in warm water helps the cutter glide through without cracking the ice cream. Work quickly so the ice cream doesn't soften too much.
- Assemble with care:
- Place one ice cream round on a cookie, top with another cookie, and gently press together without squishing (you want some ice cream between the cookies, not squeezed out). Wrap each sandwich in parchment paper immediately and return to the freezer for at least one hour before serving.
 Save
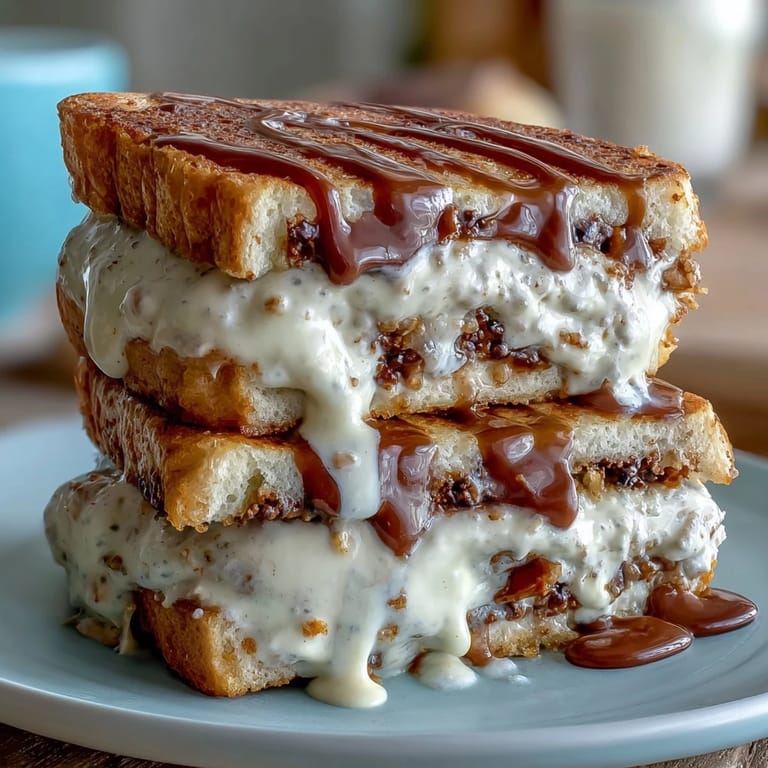
Save I brought these to a potluck where I didn't know most of the people, feeling a little nervous about my contribution. By the end of the night, someone was asking if I could make them again for a wedding shower, and another person wanted to buy them. That's when I realized these weren't just ice cream sandwiches—they were a conversation starter, a small piece of joy that made people feel cared for.
What Makes This Different From Store-Bought
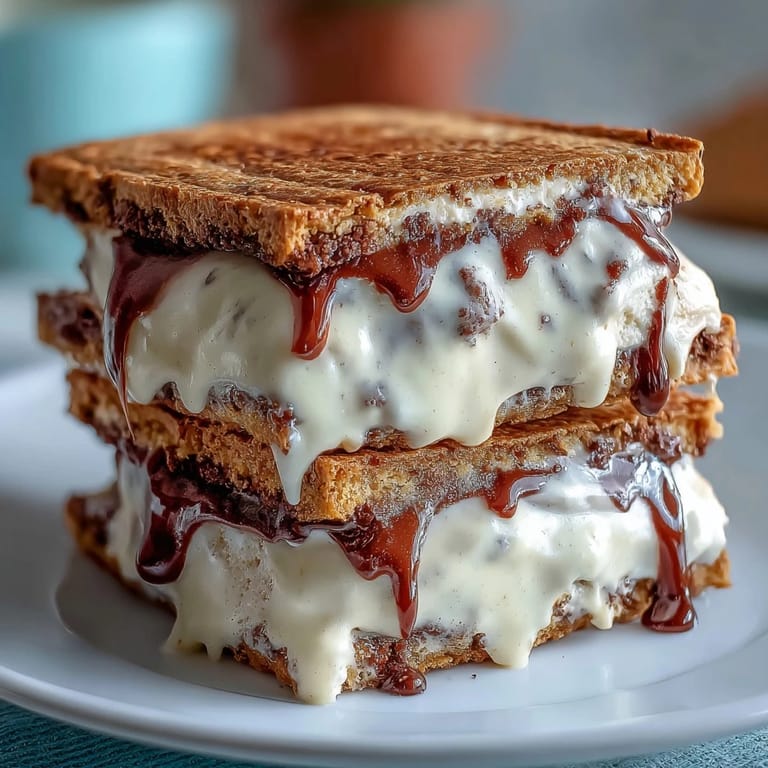
Commercial ice cream sandwiches are often made with ice cream that's been stabilized with gums and emulsifiers so it can sit in frozen trucks without changing texture. Homemade ice cream is just cream, milk, and sugar, which means it tastes pure and melts on your tongue instead of leaving a waxy coating. The cookies, too, are a revelation—crispy on the outside with a tender center, nothing like the paper-thin wafers you buy in the supermarket freezer section. When you bite into one of these sandwiches, you taste the difference immediately.
Troubleshooting Common Issues
If your ice cream comes out too soft to scoop, your base wasn't cold enough before churning or your ice cream maker's bowl wasn't properly frozen. If your cookies spread too thin and turn out crispy like wafers, you likely had warm dough or your oven ran hot. If the ice cream is grainy or icy, the base wasn't churned long enough, or you skipped the crucial chilling step. These problems are all fixable—nothing here is foolproof, but everything is forgiving if you understand the why behind each step.
Ideas for Making This Your Own
You can swap the vanilla ice cream for salted caramel or brown butter flavors if you want to experiment with different combinations. The espresso cookies are sturdy enough to stand up to bold flavors like dark chocolate ice cream or even coffee ice cream if you want to lean into the coffee shop angle. Some people roll the assembled sandwich edges in crushed espresso beans or mini chocolate chips before the final freeze, which adds texture and sophistication.
- Make a batch of cookies and freeze the dough discs for up to three months, then bake them fresh whenever you want fresh ice cream sandwiches.
- No ice cream maker? Freeze the base in a shallow dish and stir it every thirty minutes for three to four hours until creamy, though it won't be quite as silky.
- Swap store-bought vanilla bean ice cream if you're short on time; the homemade cookies are the real star anyway.
 Save
Save These vanilla bean ice cream sandwiches are the kind of dessert that turns an ordinary day into something memorable. Make them once and you'll understand why they're worth the effort.
Cooking Guide
- → What makes the cookies espresso-flavored?
The cookies incorporate instant espresso powder mixed with cocoa powder and baking soda, giving them a rich coffee essence that complements the vanilla ice cream.
- → Can I make the ice cream base without an ice cream maker?
Yes, freezing the mixture in a shallow dish while stirring every 30 minutes until creamy is a great alternative to churning.
- → How do I prepare the vanilla bean for the ice cream?
Split the vanilla bean and scrape out the seeds, then heat them with milk and sugar to infuse the flavors before mixing with cream.
- → What is the recommended thickness for the ice cream layer?
Spread the churned ice cream about 1 inch thick in a lined pan for easy cutting and consistent texture in each sandwich.
- → Are there suggestions to add texture to the sandwiches?
Rolling the edges of the assembled sandwiches in mini chocolate chips or crushed espresso beans before freezing adds a delightful crunch.