 Save
Save My neighbor knocked on the door one summer evening with a bag of corn from the farmer's market, and I realized I had maybe ten minutes before guests arrived. Instead of boiling water and waiting around, I threw the ears in the microwave with a damp paper towel and discovered something magical—the kernels stayed sweet and juicy, and the whole thing was done before I even finished mincing the garlic. That night, the garlic butter turned what could've been a rushed side dish into the thing everyone actually remembered eating.
Last summer, my daughter helped me brush the garlic butter on the warm corn, and she got more butter on her hands than the cobs, laughing the whole time. When we sat down to eat, she announced that homemade butter corn was officially better than the frozen kind, which honestly felt like winning something. Those are the moments that make a simple side dish matter.
Ingredients
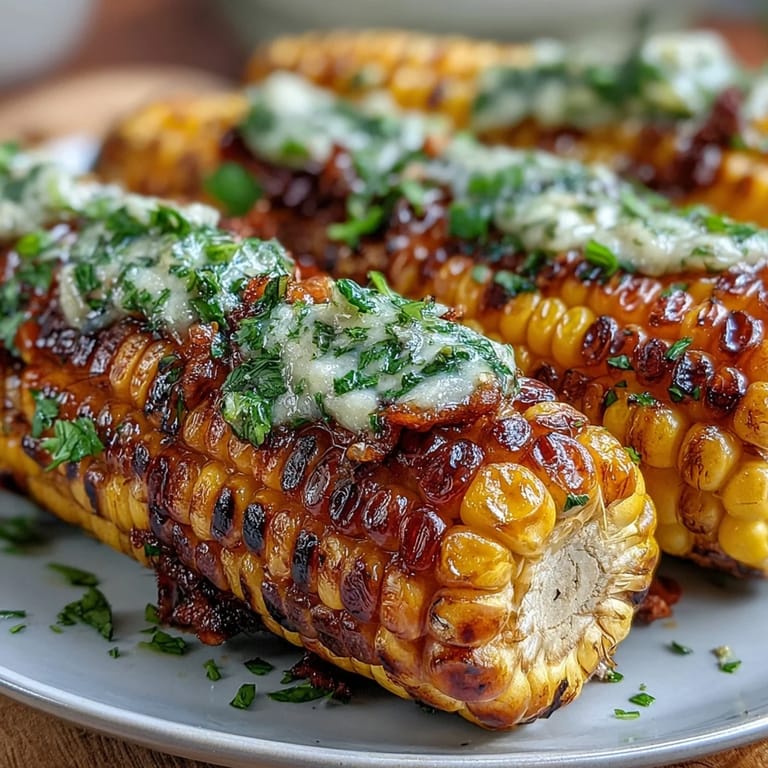
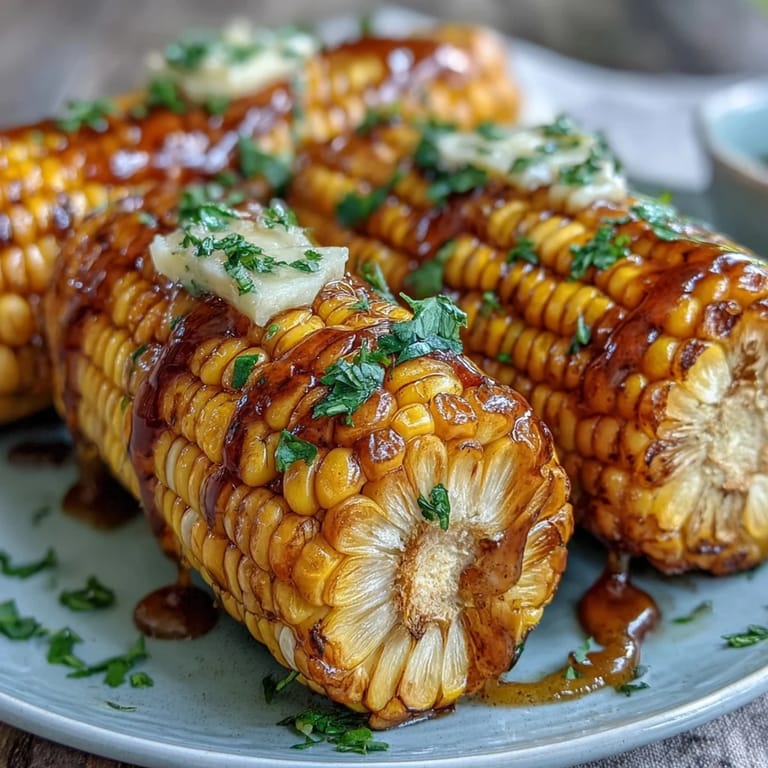
- Fresh corn, husked: Look for ears with bright green husks and kernels that are plump and milky—the microwave will bring out their natural sweetness without drying them out.
- Unsalted butter: I learned the hard way that salted butter can make the garlic butter taste one-note, so unsalted gives you control over the final seasoning.
- Garlic, finely minced: Don't use a garlic press here—minced pieces distribute evenly through the melted butter and won't scorch as easily.
- Fresh parsley, chopped: It's optional, but even a small handful adds a bright note that makes the butter taste fresher and less heavy.
- Salt and freshly ground black pepper: Black pepper specifically matters because the oils in fresh ground pepper bloom when they hit warm butter, making it taste noticeably better than pre-ground.
- Lemon wedges: A squeeze at the table cuts through the richness and makes the corn taste even sweeter by contrast.
Tired of Takeout? 🥡
Get 10 meals you can make faster than delivery arrives. Seriously.
One email. No spam. Unsubscribe anytime.
Instructions
- Set up your corn:
- Place the husked ears on a microwave-safe plate and drape a damp paper towel over them. The moisture keeps the kernels from drying out while the heat circulates.
- Microwave until tender:
- Cook on high for 4 to 6 minutes, rotating the corn halfway through, until the kernels yield to a gentle squeeze. Let it rest for a minute while you finish the butter.
- Make the garlic butter:
- Combine butter and minced garlic in a microwave-safe bowl and heat for 30 seconds until the butter melts and the garlic becomes fragrant. You'll actually smell when it's ready—that's your cue to stop.
- Season the butter:
- Stir in salt, pepper, and parsley if you're using it. Taste a tiny bit on your finger to adjust the seasoning before you brush it on the corn.
- Brush and serve:
- Remove the corn carefully using tongs, then brush each ear generously with the garlic butter using a pastry brush. Serve immediately while everything is still warm.
 Save
Save There's something about passing a warm ear of corn back and forth at the table, everyone butter-fingered and happy, that feels less like eating a side dish and more like a small celebration. It reminded me that even the simplest things deserve a little care and good ingredients.
The Microwave Advantage
I used to think microwaves were only for reheating leftovers, but they're actually brilliant for corn because they cook with steam and moisture instead of the dry heat that makes boiled corn sometimes tough. The kernels stay tender and full of their own natural sweetness, and there's no risk of overcooking because you're checking on them constantly. Once you go this route, boiling water starts to feel like unnecessary extra work.
Playing With Flavors
The garlic butter is the foundation, but it's also flexible enough that you can pivot based on what you're serving it with. I've added smoked paprika when we were grilling steak, a tiny pinch of cayenne for a subtle kick, and once even some finely grated Parmesan and a whisper of nutmeg that somehow made sense with the rest of the meal. The point is that once you understand how the basic version works, you can make it your own.
Storage and Make-Ahead Tips
You can actually make the garlic butter up to a week ahead and keep it in the refrigerator, which means on busy nights you only need to microwave the corn. The butter will solidify in the cold, but it softens immediately when it touches warm corn, so there's no fussing around.
- Wrap cooled leftover corn tightly in foil or plastic wrap and refrigerate for up to 3 days if somehow you have leftovers.
- The leftover garlic butter works on grilled bread, roasted vegetables, or even a simple steak, so don't feel like it's wasted if you make extra.
- If you're serving a crowd, you can microwave the corn in batches and keep it warm wrapped loosely in foil while you finish the others.
 Save
Save This is the kind of recipe that sounds too simple to bother writing down, but it's become my go-to because it's reliable, it tastes good, and it leaves you time to focus on everything else. Honestly, that's all a recipe needs to be.
Cooking Guide
- → How do I know when the corn is cooked?
Cook the corn in the microwave for 4–6 minutes, turning halfway through. The kernels should be tender and juicy when done.
- → Can I prepare the garlic butter ahead of time?
Yes, the garlic butter can be made in advance and stored in the refrigerator for up to one week, making it convenient for quick use.
- → What can I add for extra flavor?
Try sprinkling grated Parmesan or a dash of smoked paprika on the corn after applying the garlic butter for a tasty twist.
- → Is it necessary to husk the corn before microwaving?
Husking helps the kernels cook evenly and allows the garlic butter to coat directly; it is recommended for best results.
- → Can I make this on the grill instead of the microwave?
Yes, grilling the corn adds a smoky char, though the microwave method is faster and retains juicy tenderness.